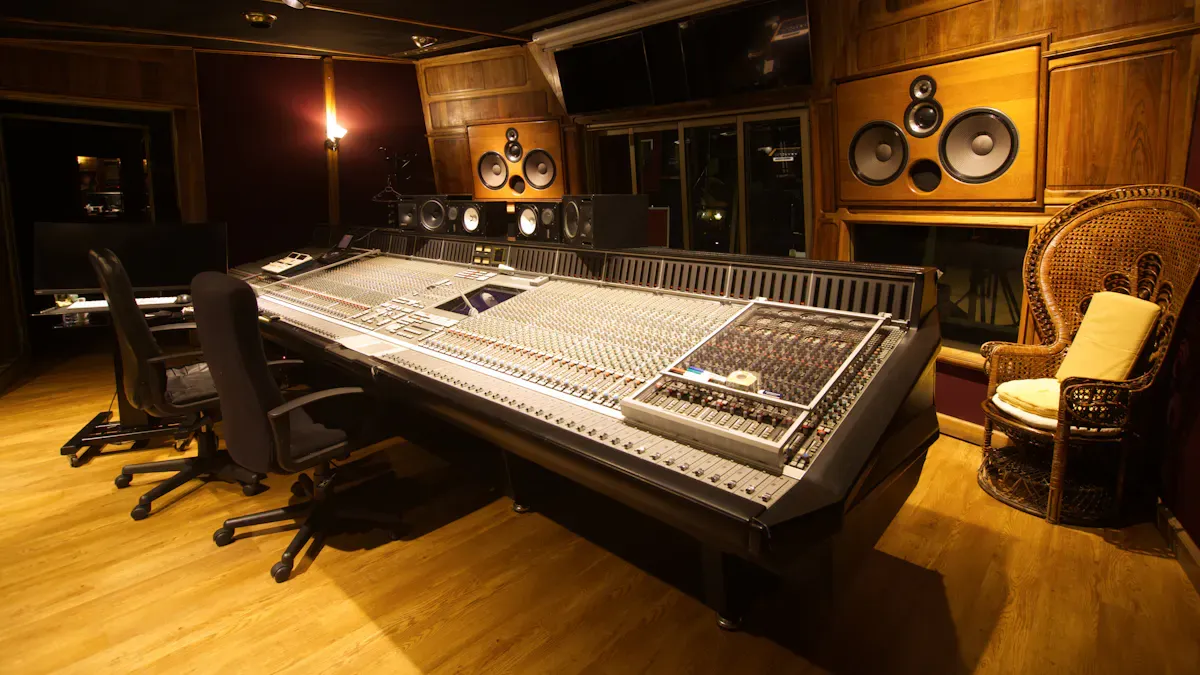
A professional audio studio serves as a dedicated space for recording, mixing, and producing high-quality sound. It typically includes essential components such as microphones, audio interfaces, and studio monitors. To begin the setup process, one must first assess their needs and budget. This includes selecting the right audio connectors and other equipment that align with their goals.
Key Takeaways
- Establish a realistic budget by prioritizing essential equipment like microphones, audio interfaces, and studio monitors to ensure quality sound without overspending.
- Choose the right Digital Audio Workstation (DAW) that fits your production style, as it can significantly enhance your workflow and creativity.
- Invest in high-quality audio interfaces and microphones to improve sound quality and ensure professional recordings.
- Implement effective acoustic treatment in your studio to enhance sound clarity and reduce unwanted echoes, leading to better recording quality.
- Organize your workspace efficiently to boost productivity, ensuring that equipment is easily accessible and that the layout supports a smooth workflow.
Budgeting for Your Professional Audio Studio
Setting a realistic budget is crucial for anyone looking to establish a professional audio studio. A well-planned budget helps prioritize spending and ensures that essential equipment is not overlooked. Here are some effective strategies for setting a realistic budget:
- Start with the essentials:
- A reliable computer and DAW form the backbone of your setup.
- Invest in quality studio monitors for accurate sound reproduction.
- Choose microphones that suit your immediate recording needs.
- Factor in acoustic treatment for clear recordings.
Allocating funds for equipment requires careful consideration of priorities. The following table outlines the priority levels for different types of equipment:
| Equipment Type | Priority Level | Reason for Priority |
|---|---|---|
| Microphones | High | Largest quality improvement per dollar spent. |
| Headphones | Medium | Accurate monitoring helps catch problems early. |
| Audio Interfaces | Medium | Unlock better microphones and provide more input options. |
When allocating funds, consider dividing your budget as follows:
- Hardware (40%): Focus on critical items like the audio interface and microphones.
- Software (30%): Invest in Digital Audio Workstation (DAW) software, including free options.
- Accessories (20%): Consider stands, cables, and pop filters to enhance recording quality.
- Sound Treatment (10%): Use foam panels or homemade solutions for proper acoustics.
Considering long-term investments can significantly impact your studio’s success. High-quality audio equipment often proves more cost-effective over time. Here are some benefits of investing in quality gear:
- Durability and Longevity: High-quality equipment reduces the need for frequent replacements, ultimately saving money.
- Superior Audio Quality: Premium headphones provide clearer sound, enhancing the overall listening experience.
- Warranty and Customer Support: Extended warranties indicate product reliability and protect your investment.
- Environmental Impact: Choosing durable products helps reduce electronic waste and supports sustainable practices.
- Improved User Experience: Premium headphones are designed for comfort, allowing for extended use without discomfort.
By making informed choices and prioritizing essential equipment, anyone can achieve great sound without overspending. Understanding how to plan a budget and select the right tools is crucial for success in the world of professional audio.
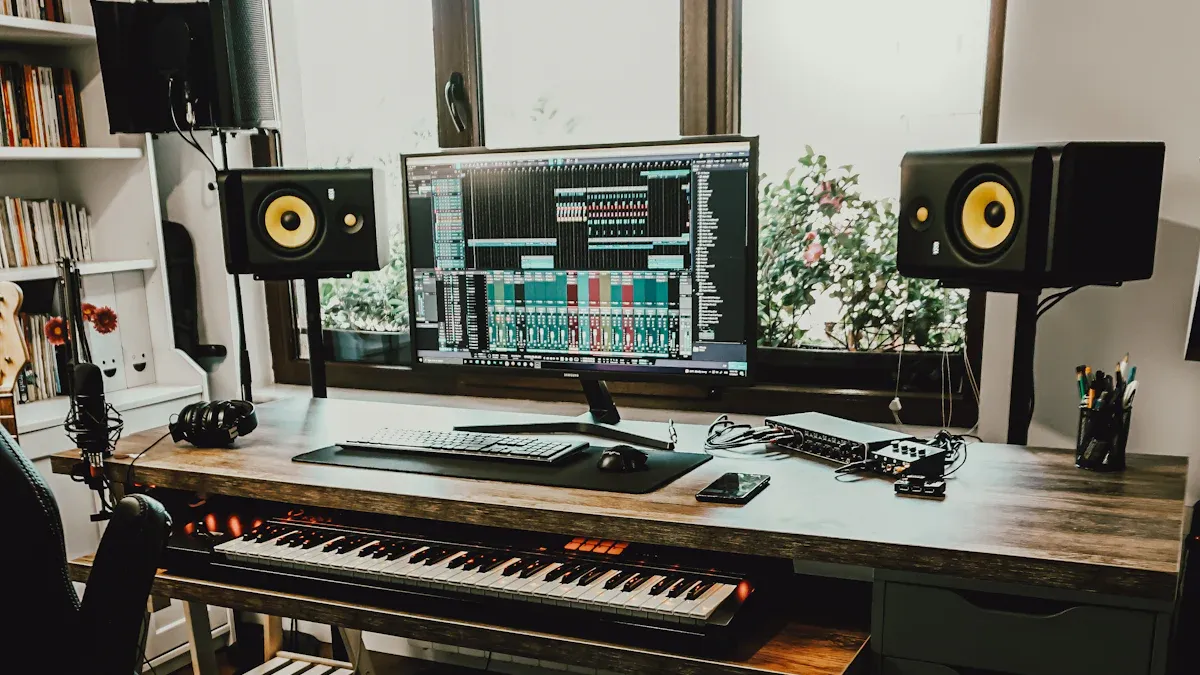
Essential Equipment for Professional Audio

Choosing the Right Computer
Selecting the right computer is a foundational step in setting up a professional audio studio. The computer must meet specific performance criteria to handle demanding audio tasks. Here are the minimum specifications recommended for 2024:
- Minimum RAM: 16GB (essential baseline for a functional DAW setup).
- Recommended RAM: 32GB or more (ideal for large sample libraries or many tracks/plugins).
- Storage Type: SSD is necessary for fast loading and performance.
- Processor: Minimum Intel Core i5 or AMD Ryzen 5; recommended Intel Core i7 or AMD Ryzen 7 for heavy projects.
Investing in a powerful computer ensures smooth operation during recording and mixing sessions. A capable machine minimizes latency and allows for real-time processing of effects and plugins.
Selecting a Digital Audio Workstation (DAW)
Choosing a Digital Audio Workstation (DAW) is crucial for any audio professional. The right DAW can enhance workflow and creativity. Here are some of the most popular DAWs among professionals:
- Ableton Live: Known for its intuitive interface and seamless integration with hardware controllers, it is favored by electronic music producers and for live performances.
- FL Studio: Popular among beatmakers and hip-hop producers due to its pattern-based workflow and a wide range of built-in instruments and effects.
- Logic Pro: A comprehensive DAW for macOS users, offering virtual instruments, plugins, and professional features suitable for home recording studios.
- Pro Tools: The industry standard in professional recording studios, known for its advanced features and compatibility with various hardware.
- Cubase: Versatile with powerful MIDI capabilities and comprehensive audio editing tools, suitable for various music genres and production tasks.
Selecting a DAW that aligns with specific needs and preferences can significantly impact the quality of the final product. Each DAW offers unique features that cater to different styles of music production.
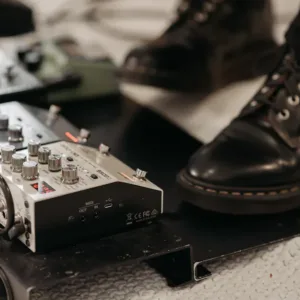
Importance of an Audio Interface
An audio interface serves as the bridge between the computer and the audio equipment. It converts analog signals from microphones and instruments into digital signals for the computer. Here are key reasons why an audio interface is essential:
- Improved Sound Quality: High-quality audio interfaces provide better sound conversion, resulting in clearer recordings.
- Low Latency Monitoring: Many interfaces offer direct monitoring options, allowing users to hear their input without delay.
- Multiple Inputs/Outputs: An audio interface expands the number of devices that can connect to the computer, accommodating various recording setups.
- Phantom Power: For condenser microphones, an audio interface supplies the necessary phantom power, enabling their use.
Investing in a reliable audio interface enhances the overall recording experience and ensures professional audio quality.
Industry Trends and Equipment Selection
Industry trends influence the selection of equipment for professional audio studios. Here is a summary of key requirements based on application segments:
| Application Segment | Key Requirements |
|---|---|
| Media & Entertainment | Sonic accuracy and low noise floor |
| Live Events | Ruggedness and high output |
| Installation | Ease of use and durability for educational settings |
| High-end Broadcasting | Compliance with regulatory standards |
Staying updated with industry trends helps professionals choose equipment that meets current demands and expectations.
By carefully selecting the right computer, DAW, and audio interface, individuals can create a professional audio environment that fosters creativity and productivity.
Microphone Options for Different Needs
Selecting the right microphone is essential for achieving high-quality recordings in a professional audio studio. Different microphones serve various purposes, and understanding their characteristics helps in making informed choices. Here are some common types of microphones and their ideal applications:
-
Dynamic Microphones:
- Best for live performances and loud sound sources.
- Durable and can handle high sound pressure levels.
- Examples include the Shure SM58 and the Sennheiser e835.
-
Condenser Microphones:
- Ideal for studio recordings, especially vocals and acoustic instruments.
- Sensitive to subtle sounds, capturing a wider frequency range.
- Popular models include the Audio-Technica AT2020 and the Rode NT1.
-
Ribbon Microphones:
- Known for their warm sound and natural tonal quality.
- Suitable for recording vocals, strings, and brass instruments.
- Examples include the Royer R-121 and the AEA R84.
-
Lavalier Microphones:
- Small, clip-on mics used for interviews and presentations.
- Provide hands-free operation and are discreet.
- Commonly used in video production and broadcasting.
Choosing the right microphone depends on the specific recording needs and the environment. Each type offers unique advantages that cater to different applications.
Studio Monitors vs. Headphones
When it comes to mixing audio, both studio monitors and headphones have their strengths and weaknesses. Understanding these differences can help individuals make the right choice for their setup.
| Aspect | Studio Monitors | Headphones |
|---|---|---|
| Advantages | – Flatter frequency response for accurate mixing | – Intimate listening experience, revealing details |
| – Reduces ear fatigue during long sessions | – Ideal for quiet environments | |
| – Better representation of how mixes sound in a room | – Cost-effective for beginners | |
| Disadvantages | – Requires acoustic treatment for optimal performance | – Can create a false sense of stereo imaging |
| – Higher initial investment | – Extended use can lead to fatigue |
Using studio monitors for mixing offers advantages such as a flatter frequency response, which provides a more accurate representation of the mix. They also reduce ear fatigue, allowing for longer sessions. However, they require a well-treated room to perform optimally. On the other hand, headphones excel in detail retrieval and are great for quiet environments, but they can create a misleading stereo image and may lead to listener fatigue over time.
Acoustic Treatment for Professional Audio
Understanding Soundproofing vs. Acoustic Treatment
Soundproofing and acoustic treatment serve different purposes in a professional audio environment. Understanding these differences is crucial for achieving optimal sound quality.
| Feature | Soundproofing | Acoustic Treatment |
|---|---|---|
| Purpose | Blocks sound from entering or leaving | Improves sound inside the room |
| Goal | Isolation | Clarity |
| Primary Materials | Dense and heavy (drywall, MLV, insulation) | Porous and absorptive (foam, panels, diffusers) |
| Installation | Structural or construction-based | Surface-mounted, aesthetic |
| Typical Cost Range | Higher — construction work required | Moderate — flexible installation |
| Impact | Controls noise between spaces | Controls sound quality within space |
Types of Acoustic Panels
Acoustic panels play a vital role in enhancing sound quality by absorbing echoes and preventing sound waves from bouncing off hard surfaces. Here are some effective types of acoustic panels:
- Foam Panels: Excellent for sound absorption, especially at low frequencies. Their varied shapes disrupt sound waves, maximizing echo reduction.
- Fabric-Wrapped Panels: Combine functionality with aesthetics, absorbing mid and high-frequency sounds while offering customizable design options.
- Perforated Wood Panels: Provide a natural elegance and effectively manage low to mid-frequency sounds, allowing sound waves to pass through their perforations.
To achieve the best results, individuals should identify primary reflection points on walls and ceilings. Mounting panels at ear level on side walls and positioning them on the ceiling can significantly reduce reverberation.
DIY vs. Professional Treatment
When considering acoustic treatment, individuals often weigh the benefits of DIY solutions against professional installations.
| Aspect | DIY Acoustic Panels | Professional Acoustic Panels |
|---|---|---|
| Cost | £500 – £2000 (materials only) | £2000 – £4000 (small rooms) up to £15,000+ |
| Performance | Varies; can be unpredictable | Consistent and predictable performance |
| Aesthetic Appeal | High customization, but execution may vary | Professional finishes and attention to detail |
| Time and Effort | Requires time and skill to construct | Quick installation, no construction needed |
DIY acoustic panels may yield varying results based on the builder’s knowledge and skills. In contrast, professional panels are designed with acoustic science in mind, ensuring reliable performance. Investing in professional treatment often leads to better sound quality and a more polished studio environment.
Setup Tips and Best Practices for Professional Audio
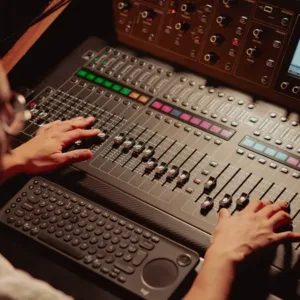
Arranging Your Workspace
A well-organized workspace enhances productivity in a professional audio studio. Consider the following best practices for optimal layout:
| Best Practice | Description |
|---|---|
| Layout Structuring | Divide the studio into distinct zones for recording, monitoring, and editing to improve workflow and reduce interference. |
| Equipment Organization | Keep frequently used gear within reach and utilize wall mounts and shelves to maintain a clutter-free workspace. |
| Sound Treatment | Use acoustic panels and bass traps to enhance sound quality and clarity in recordings. |
| Lighting Control | Implement a three-point lighting setup to effectively manage shadows and highlights for video quality. |
| Ergonomic Editing Zone | Ensure the editing area is organized and spacious, potentially using a dual-monitor setup for better multitasking. |
| Clean Audio Signal | Prefer XLR microphones with dedicated interfaces over USB microphones for superior recording quality. |
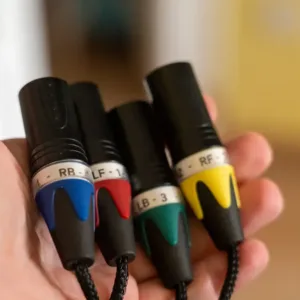
Cable Management
Effective cable management contributes significantly to both performance and safety in a professional audio studio. Here are some key practices:
- Using cable ramps and covers in high-traffic areas prevents tripping hazards.
- Securely taping down cables with gaffer tape adds protection in less trafficked areas.
- Proper grounding of equipment minimizes the risk of electrical shock.
- Employing Ground Fault Circuit Interrupters (GFCIs) ensures immediate power cutoff in case of faults.
- Maintaining clear emergency access routes is crucial for safety.
Testing and Calibration
Testing and calibrating audio equipment is essential for achieving consistent sound quality. Proper calibration allows for intuitive mixing without constant metering checks. Here are recommended methods:
- Use a sound pressure level meter to calibrate monitoring levels.
- Adjust monitor volume based on room size for optimal mixing.
- Fine-tune monitor levels until mixes are within 1LU of target loudness.
Establishing a familiar level structure ensures consistent mixing results. Using test tones can help verify output consistency from analog devices. Setting compressor parameters for predictable gain reduction and output levels also enhances the mixing process.
By following these setup tips and best practices, individuals can create a professional audio environment that fosters creativity and efficiency.
Setting up a professional audio studio involves several essential steps. First, optimize your space for sound quality by investing in acoustic treatments. Next, arrange your equipment for optimal workflow, ensuring monitors are at ear level. Define your studio’s purpose to guide your equipment choices. Budget wisely, focusing on hardware, software, and acoustic treatment. Finally, select a suitable room to minimize external noise.
Starting this journey may seem daunting, but each step brings you closer to achieving your audio goals. Remember, continuous learning and improvement are vital in this ever-evolving field. Embrace the process, and enjoy the creative possibilities that await!
FAQ
What is the most important piece of equipment for a home studio?
The audio interface is crucial for connecting microphones and instruments to the computer. It ensures high-quality sound conversion and low latency monitoring, making it essential for professional recordings.
How much should I budget for my first audio studio?
A beginner’s audio studio can range from $1,000 to $5,000. Prioritize essential equipment like a computer, DAW, audio interface, and microphones to stay within budget while achieving quality results.
Can I use regular headphones for mixing?
While regular headphones can work, studio headphones provide a flatter frequency response. This accuracy helps in making better mixing decisions, ensuring the final product sounds good on various playback systems.
How do I improve the acoustics in my room?
To enhance acoustics, use acoustic panels to absorb sound reflections. Position them at primary reflection points on walls and ceilings. Consider adding bass traps in corners to manage low frequencies effectively.
Is DIY acoustic treatment effective?
DIY acoustic treatment can be effective if done correctly. Use materials like foam or fabric-wrapped panels to absorb sound. However, professional solutions often provide more consistent results and better performance.